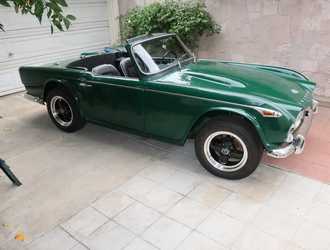
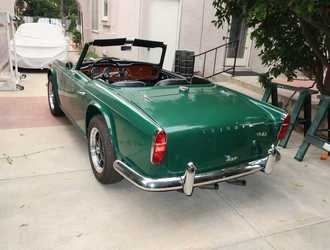
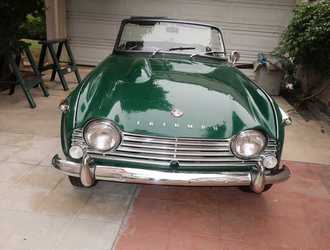
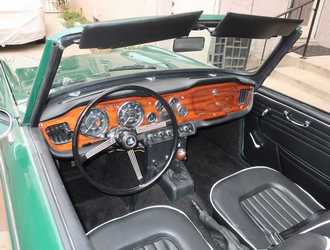
The 1966 Triumph TR4A
Steve Maas, Long Beach, California, USA
October, 2016 to August, 2020
 I've wanted to restore a TR4A for some time. In fact, I had been looking for one before I acquired my MG TD, but couldn't find an acceptable car: one that was mostly complete, not too rusty, restorable without any heroic efforts, and not outrageously overpriced. You'd think that would be easy, but it wasn't.
This is a solid-axle car; not IRS (independent rear suspension). Back in the 60s, the IRS cars got mixed reviews: better ride, worse handling, more expensive. As I shopped, I was open to either type of car. As my only TR4A experience was in an IRS car, I thought it might be interesting to try something different.
I bought the car from a seller in Ohio who had owned it since the 1980s. It seems not to have been used much in recent years, and I suspect he simply realized that the time had come to sell it. The car arrived with a nice collection of spare parts, including replacement panels for the rusting rockers and even a second engine. The existing engine and overdrive transmission seemed to be in decent shape, though, and I later determined that they were original.
The car is titled as a 1966 model, but the Heritage Certificate lists the build date as May 26, 1965, so it probably should have been titled as a 65. This kind of discrepancy is common in British cars, as they didn't have the distinct model years that characterized American cars. This TR was probably sold in the US in mid to late 1965, and, to make it seem like a newer model, it was titled as a 66.
In my wild and profligate youth, I had a 1966 TR4A (or maybe 67; I've forgotten). I sold it in 1972, when I got married, and bought a more sensible, compact family car. My admiration for British cars has never disappeared, however, as evidenced by my recent ownership of a Bugeye Sprite, an MG TD, and now this TR. Is this a nostalgia trip? I suppose it is, to some degree. Does that matter?
Restoration
I've organized this by project, not chronologically, as I jumped around a lot between tasks. Reporting this way, I think, makes it a bit more coherent. These pages are intended to be a description of what I did, including, occasionally, a few things I learned in the process. It is in no way intended to be a tutorial on any part of the restoration.
Links to the project descriptions are below.
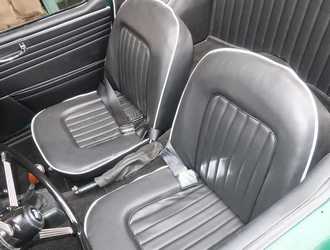
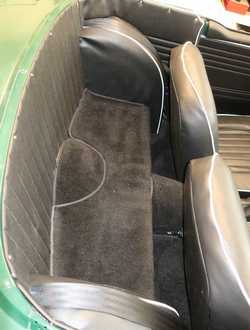
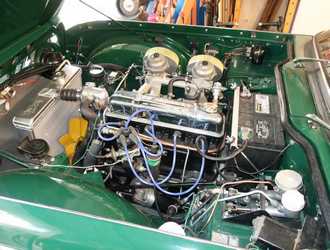
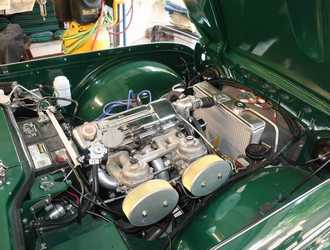
A few photos comparing the car before and after the restoration.
Some pictures of the car as I received it.
Here's where I find out what I really have.
Floor and rocker replacement, mostly. To preserve alignment, I did this with the body on the frame.
Work with the body removed from the frame. More rust repair!
Work performed after the body was reinstalled on the frame: doors, hood, and so on.
Stripping the existing paint and undercoat (a nasty job!), applying primer and finish coats.
Fortunately, the frame was straight, but it needed cleaning, paint, and some minor modifications.
Working brakes tend to preserve the investment in the restoration. It's always nice when they work well.
Steering, Wheels, and Suspension
Renewing these gives the car a "like-new" feel.
Everything under the hood outside that big, iron lump.
The big iron lump and all the stuff between it and the rear axle. The descriptions of the engine, transmission, and differential rebuilds are fairly long, so they have their own pages:
The engine was due for a rebuild, so it got one.
The car came with a second engine, in poor condition. I decided to rebuild it as a spare.
These didn't look too bad, but I want a transmission and overdrive with crisp shifts and no grinding, so I rebuilt them.
Restoration of the differential internals, which were in hair-raising condition.
The passenger compartment and everything in it. Except me, of course, although the case could be made that I need restoration more than the car.
To save it from itself, I redesigned the electrical system.
Experiments in zinc plating, for restoring galvanized parts.
All material on this site is copyright (c) Stephen Maas, 2016 - 2025.
